How to Avoid Air Bubbles and Overflow When Pouring Liquid Silicone: Technique and Precision
The pouring phase may seem simple, but in reality, it's one of the most delicate steps in mold-making. A poor technique can lead to air bubbles, overflow, or incomplete curing.
Have you ever thought everything looked perfect... until you demolded and discovered a hidden defect?
Here’s how to avoid the most common mistakes when pouring liquid silicone and get a clean mold, without bubbles or waste.
Pouring: A Crucial Step
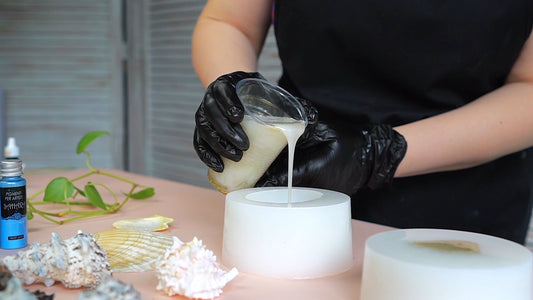
Working with liquid silicone requires precision and patience. It’s not just about mixing and pouring—
how you pour directly affects the final result: detail, durability, quality.
Common Mistakes and How to Fix Them
1. Pouring too quickly
❌ Problem: Air gets trapped in cavities → air bubbles
✅ Solution: Pour slowly from a fixed point and let the silicone flow naturally
2. Pouring from too close
❌ Problem: Air doesn’t have time to escape
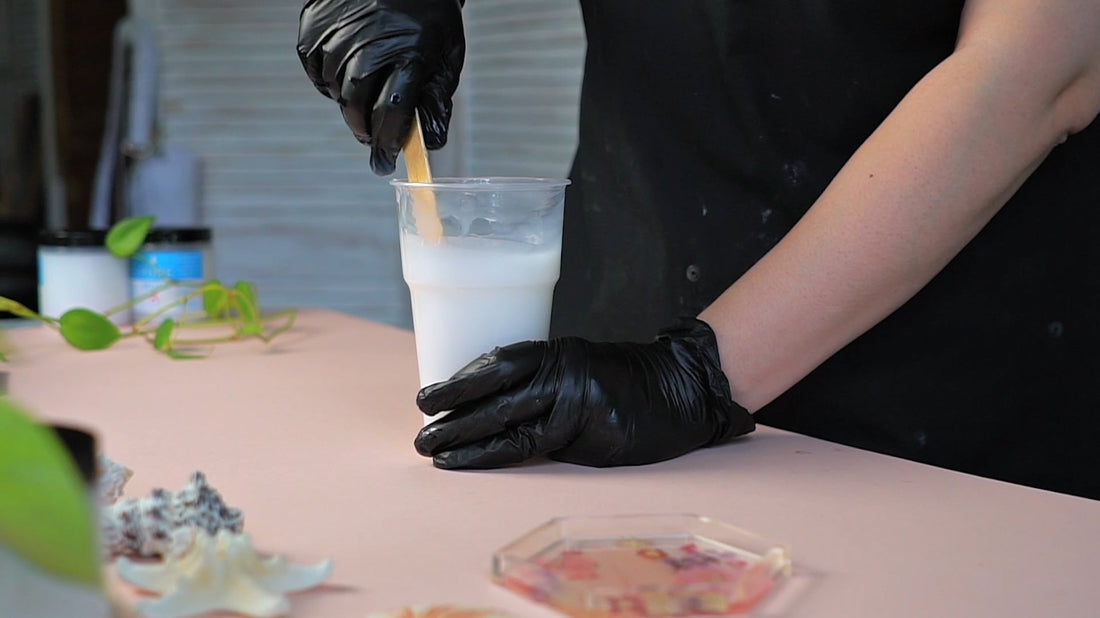
✅ Solution: Lift the container about 20–30 cm above the model to create a thin stream of silicone
3. Pouring directly onto the object
❌ Problem: Air pockets form around details and corners
✅ Solution: Pour onto the edge of the mold box and let silicone flow gently over the model
4. Mold not level
❌ Problem: Silicone overflows or accumulates unevenly
✅ Solution: Make sure your mold is on a perfectly flat surface—use a spirit level
Extra Tips
-
Use clean containers: avoid any residue or moisture
-
Avoid drafts or cold: they slow curing and encourage bubbles
-
Mix slowly: fast stirring traps air inside the silicone
In Summary
👉 Pouring is a critical moment.
Work slowly, keep the silicone stream high, and let it flow gently.
With the right technique, your mold quality will improve dramatically.
Tags:
Previous
Step-by-Step Guide to Creating 3D Silicone Moulds
Next
What Shore Hardness Do You Need? Learn How to Choose the Right One for Your Project
Related articles
-
Jul 15 2025
3 errori comuni quando si usano siliconi per stampi

-
Jul 11 2025