Create a Custom Mould and Make a One-of-a-Kind Piece with Acrylic Resin – Step-by-Step Guide
Have you ever dreamed of designing and creating your own handmade items, entirely crafted by you?
From the idea to the mould, all the way to the finished piece.
Today, we invite you to take that step and discover how rewarding it is to make a personalised little jewellery box using NatuResin and a silicone mould made by you.
You don’t need to be an expert — just follow these steps.
🧩 Step 1: Prepare the model and create the silicone mould
It all starts with a solid base: your original model.
Choose a small object with the shape you want for your box. It can be something pre-existing or something you’ve created yourself.
Important: it must be clean and dry, so the liquid silicone sticks perfectly.
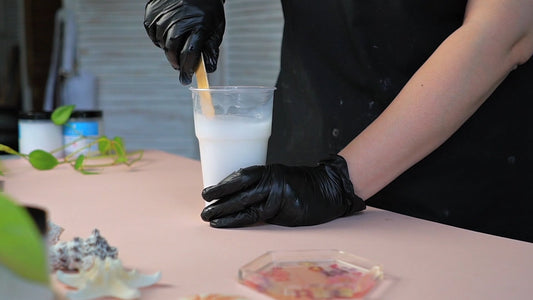
Now it’s time to prepare the liquid silicone for moulding.
Pour it slowly and carefully, making sure to cover every detail.
Avoid sudden movements, as they may cause air bubbles.
💡 Pro tip: gently tap the container to help bubbles rise to the surface.
Experienced crafters know that good results come from controlling the pour and the amount of silicone used —
every detail matters.
Let the silicone cure as instructed by the manufacturer.
In the meantime, prepare your workspace for the resin or pick the colours you want to use.

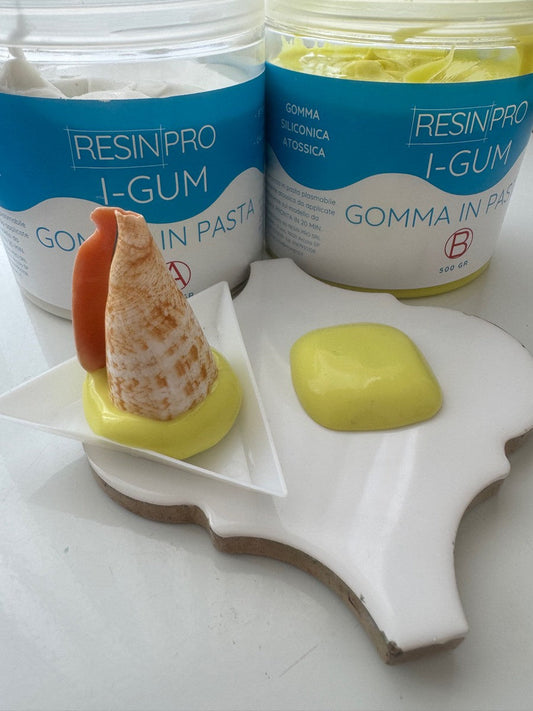
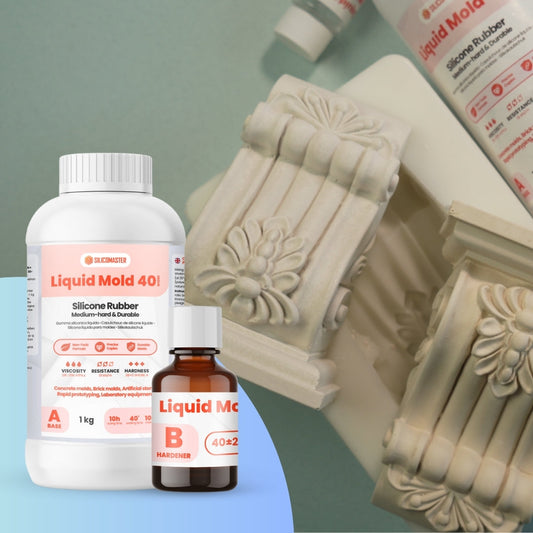
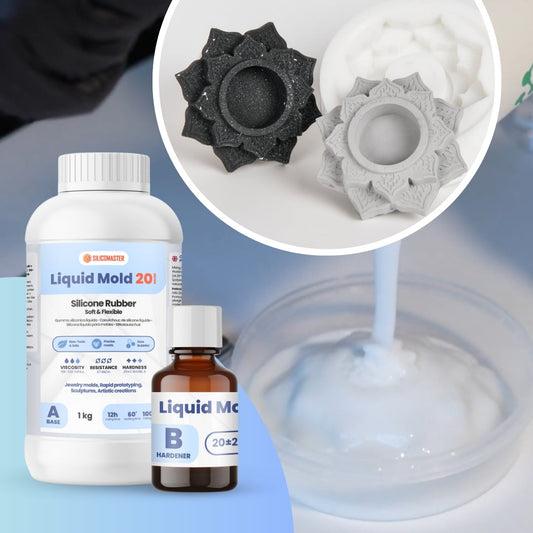
Liquid Mold 5 - Silicone for Ultra-Soft Moulds and Fine Details

Liquid Mold 20 - Universal Silicone for Crafting and Sculptures
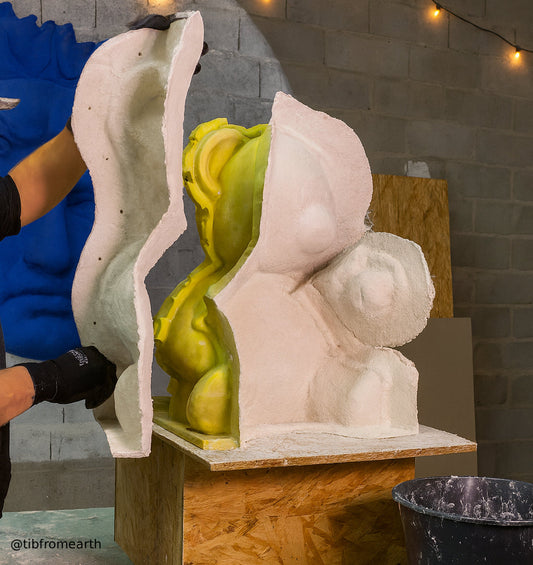
🧽 Step 2: Carefully demould and prepare the mould
Once cured, the silicone mould will be flexible.
Now comes an important step: demoulding without damaging it.
Do it slowly, twisting and pulling gently.
A good custom mould can last a long time if handled with care.
Check that the mould is clean and free from dust, ready for pouring the NatuResin.
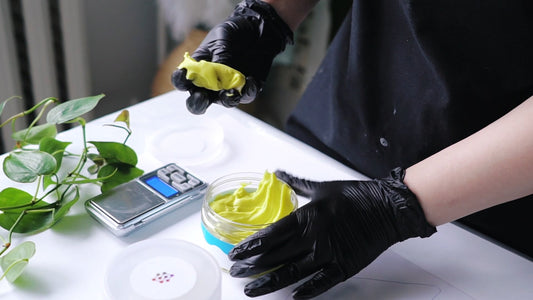
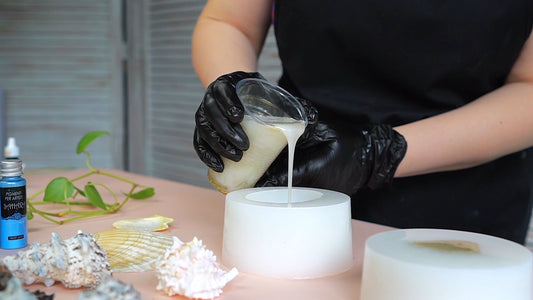
🧪 Step 3: Mix and pour NatuResin into the mould
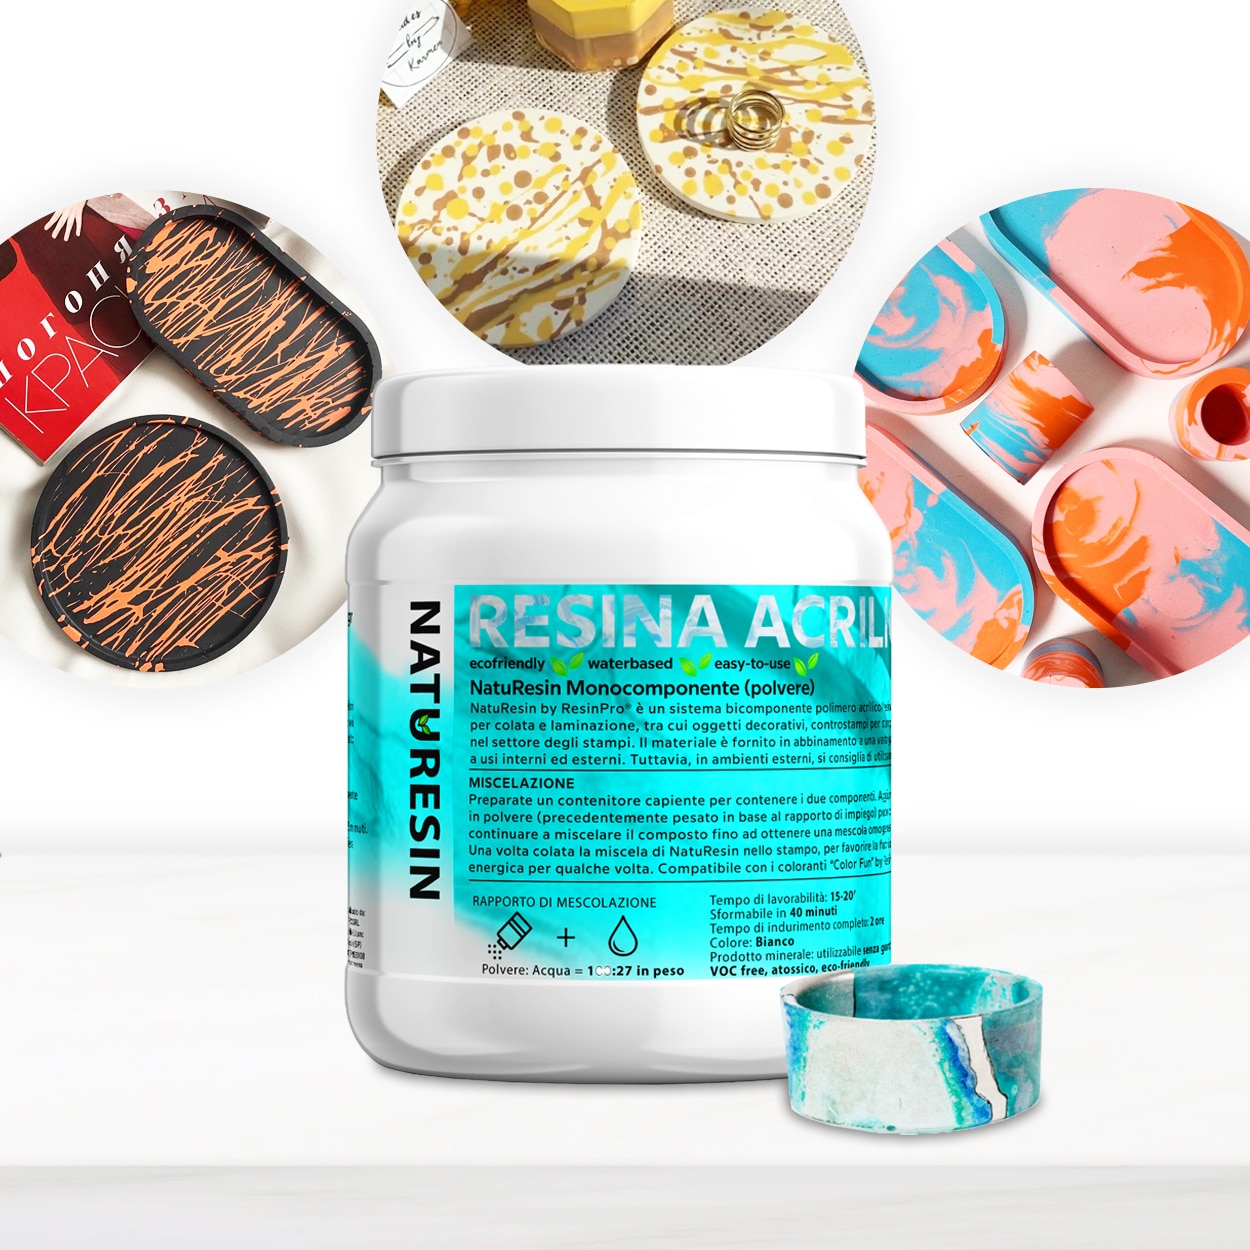
Now the magic begins. NatuResin is an eco-friendly acrylic resin — clear and with a professional finish.
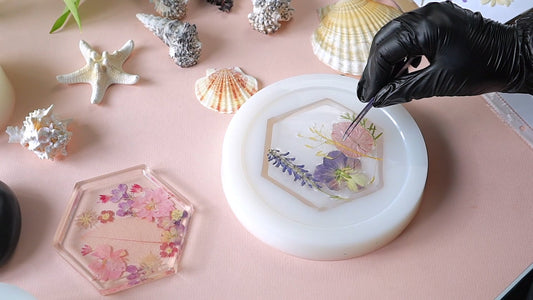
You can add pigments to achieve soft or vibrant colours, glitter effects, or decorative inclusions.
Mix the resin and pigment according to the instructions, stirring slowly to avoid air bubbles.
Pour the mixture into the mould calmly, making sure it fills every corner.
💡 Want to create coloured resin with a unique look?
It only takes the right combination of silicone and quality pigments.
It’s time to unleash your creativity: add dried flowers, glitter, layers of colour… anything is possible!

⏱️ Step 4: Curing and final demoulding
After pouring the resin, wait for the curing time (around 30–60 minutes).
Always follow the manufacturer’s instructions.
Once the resin is hard, demould it carefully — and enjoy the result!
A custom little box, in the exact shape and colour you chose.
💡 Why create custom moulds with NatuResin?
✔ Save money
✔ Express your creativity
✔ Use eco-friendly materials that respect the environment
✔ Make unique pieces — for yourself or as gifts
🛠️ Extra tips for a flawless project
• Work in a clean, dust-free environment
• Wear gloves during mixing
• Keep your tools and containers clean
• Be patient during curing — it’s worth it
• Learn how to properly store your moulds so you can reuse them
❓ Frequently Asked Questions
What type of silicone should I use with NatuResin?
👉 RTV liquid silicone (room temperature vulcanising), Shore hardness 15–30
Can I use any mould with NatuResin?
👉 No. The mould material must withstand the heat generated during resin curing.
How can I avoid air bubbles?
👉 Pour slowly from a height, or use a vacuum chamber.
How long does NatuResin take to cure?
👉 Between 30 minutes and 1 hour, depending on thickness and temperature.
🎨 Now it’s your turn!
Save this guide, share it with fellow creatives, and don’t forget to tag us in your projects!
Every piece you create will be one-of-a-kind — just like you.
Tags:
Previous
How to Use Silicone for Moulds – Tips and Practical Guide
Next
How to Take Care of Silicone Moulds to Make Them Last Longer (Without Losing Your Mind in the Process)
Related articles
-
Jul 15 2025
3 errori comuni quando si usano siliconi per stampi
-
Jul 11 2025