Using Pure Mold? Then This Article Is for You.
Working with silicone moulds can stir up a mix of emotions and uncertainties: will there be bubbles? Has the material filled every corner? Will the result turn out as expected? But when you're working with translucent mould-making silicone, these doubts can turn into confidence… if you know how to make the most of it.
Here are 3 practical tips to take full advantage of its transparency. Because yes — translucency isn't just about aesthetics: it's a powerful tool to gain more control over the moulding process — especially if you're a beginner or looking to improve your results.
1. Watch the Pour from the Outside: Your First Defence Against Hidden Errors
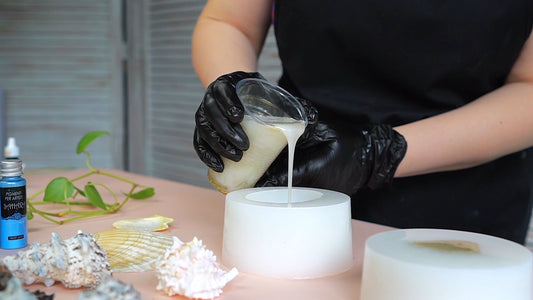
One of the best features of a moulding silicone like Pure Mold is that it lets you see what’s happening inside the mould as you pour. Unlike opaque silicones, you can immediately spot issues you’d otherwise only discover too late.
For example? Air bubbles trapped near fine details or corners. With translucent silicone, you can see them with the naked eye and gently tap the mould or use a thin tool to release them before the silicone sets.
You can also tell if a section isn’t filling properly and fix the pour in real time — no more guessing. That means saving both time and materials.
👉 Pro Tip: Be active during the pour. Pouring blindly ≠ pouring with control.
2. Making Hollow Pieces or Using a Manual Rotocasting Technique? Gently Rotate While Curing
If you’re using manual rotocasting, where resin is distributed in thin layers, visibility is key.
With Pure Mold, a silicone that lets light pass through, you can monitor how the resin spreads as you rotate the mould, ensuring every section is covered.
It's ideal for hollow objects — instead of filling the mould, you coat the inside walls. Transparency helps you visually check whether the material is adhering evenly.
👉 How to do it: Partially fill the mould and gently rotate it in all directions. Thanks to the transparency, you can see if the resin is sticking evenly.
3. Light Up the Mould from Behind: Reveal Hidden Flaws
Have you ever demoulded a piece only to find a bubble in the worst spot? Or worse — a weak point due to missing material?
With Pure Mold, you can avoid this easily: simply shine a light from underneath or behind the mould during the pour using a powerful torch or lamp.
The light passes through the silicone and highlights density differences or voids, so you can fix them before it’s too late.
👉 Tip: An LED lamp or a flexible-arm desk lamp works perfectly. Illuminate from multiple angles to catch flaws that are invisible to the naked eye.

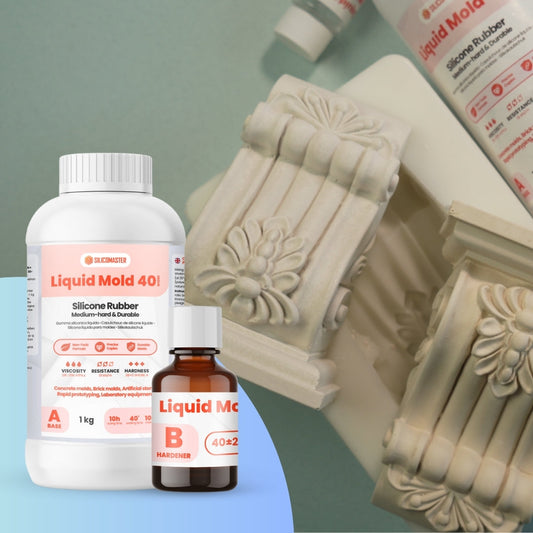
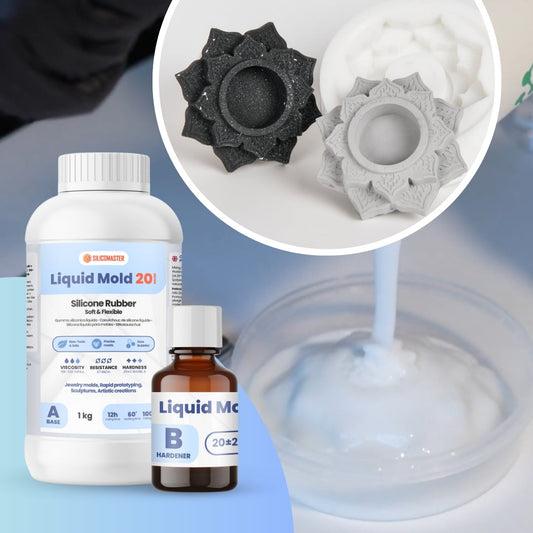
Pure Mold 10 - Silicone for Crafting and Fine Details

Pure Mold 20 - Universal Silicone for Sculptures and Artistic Objects

Pure Mold 30 - Silicone for Moulds in Concrete, Plaster, Mortar and Decorative Stones
🎁 Bonus Tip: Want Better Results? Use Translucency to Your Advantage
The optical properties of Pure Mold give you more control and confidence.
Advantages of Transparent Silicone for Moulds:
-
Immediate visual control during pouring
-
Detection and correction of air bubbles
-
Thickness control for hollow pieces
-
Greater precision in capturing fine details
👉 The key to avoiding mistakes is seeing the entire process in real time.
✅ Final Tips:
-
Don’t work in the dark: lighting is essential
-
Rotate the mould gently if making hollow items
-
Monitor every area while pouring
-
Use silicone’s flexibility to demould without damage
🔚 Conclusion: More Control, Fewer Surprises
Pure Mold isn’t just flexible and precise — it’s your strategic ally.
Its translucency helps prevent issues before they happen.
If you want cleaner, more professional results from your moulds, start using these 3 simple tricks.
Ready to try them out?
Tags:
Previous
How to Make a Silicone Mould with a Polyester Resin Support Shell from a Clay Sculpture
Next
The Importance of Transparency in Silicone Molds for Better Results
Related articles
-
Jul 15 2025
3 errori comuni quando si usano siliconi per stampi
-
Jul 11 2025