Creating the Clay Model
Sculpt your original model using clay. This material allows you to achieve precise details, recesses, and complex volumes, which will be faithfully reproduced in the silicone mould.
2. Applying a Release Agent
Before applying the silicone, coat the clay model with a release agent. This will make it easier to remove the cured silicone mould and prevent it from sticking to the surface.

3. Preparing the Containment Barrier
Build a barrier around the model (using plasticine, cardboard, or clay) to define the silicone pouring area. This also helps achieve clean edges on the mould.
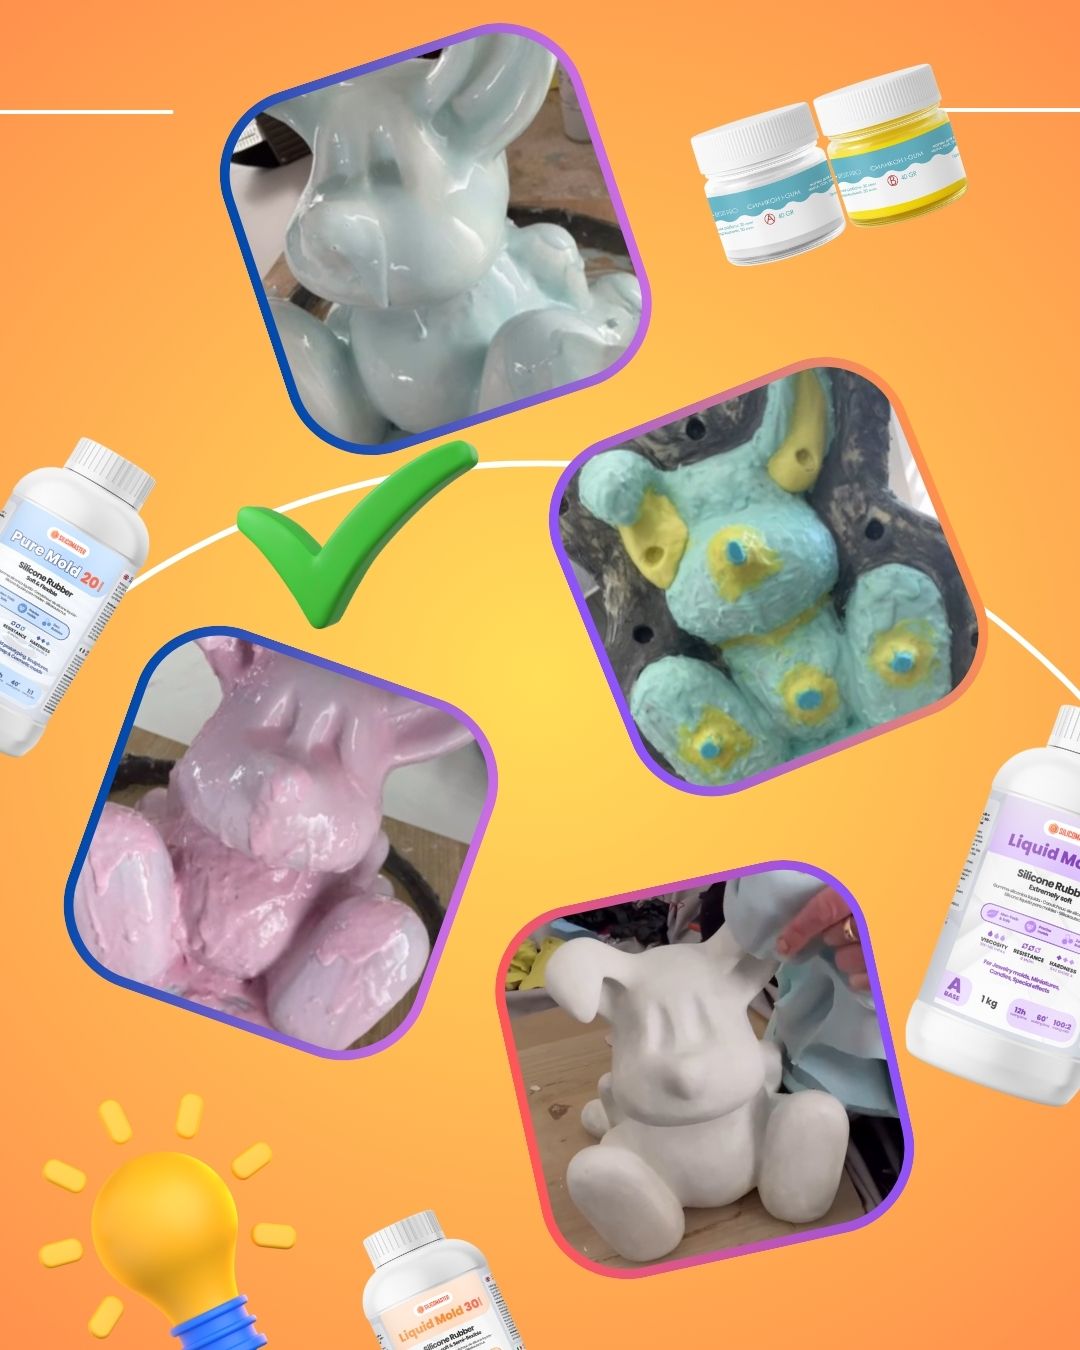
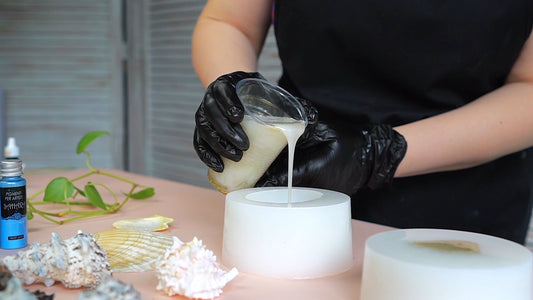
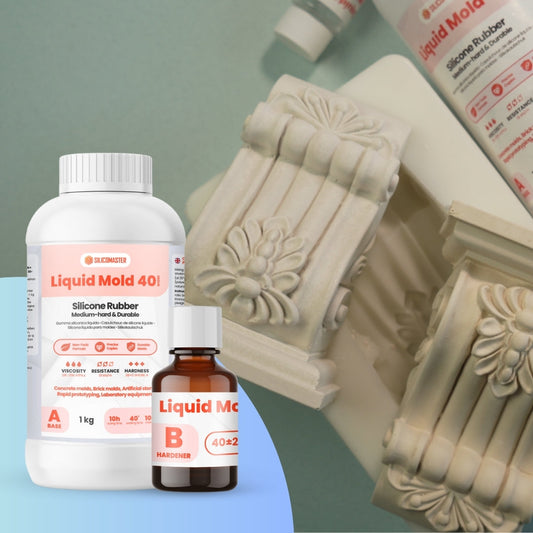
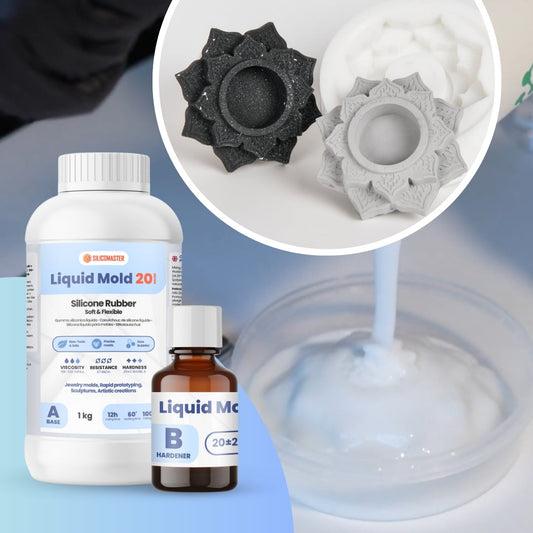
4. Applying the Liquid Silicone
Brush on a two-component liquid silicone (such as Liquid Mold 20 Shore or Pure Mold 20 Shore):
-
Apply a thin initial layer to capture fine details
-
Follow with 2–3 additional layers to build up the mould thickness
✅ Tip: Use different pigment colours for each layer. This makes it easier to ensure full coverage and avoid missed areas.
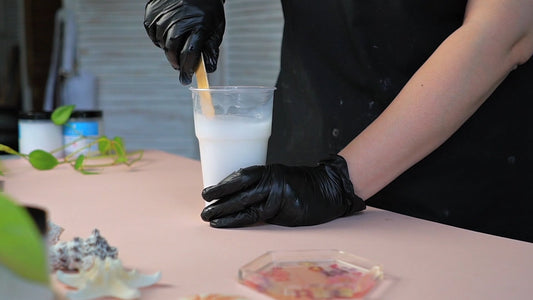
✅ For accurate dosing, use a graduated syringe to add the hardener.

✅ Tip: Use different pigment colours for each layer. This makes it easier to ensure full coverage and avoid missed areas.
✅ For accurate dosing, use a graduated syringe to add the hardener.
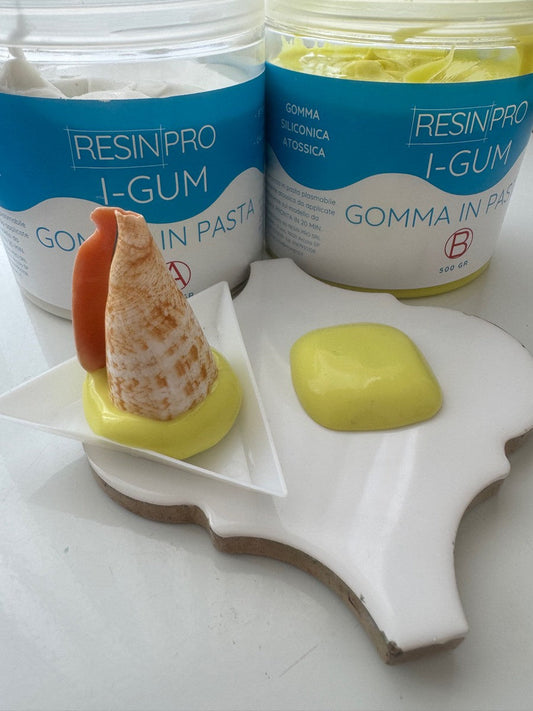
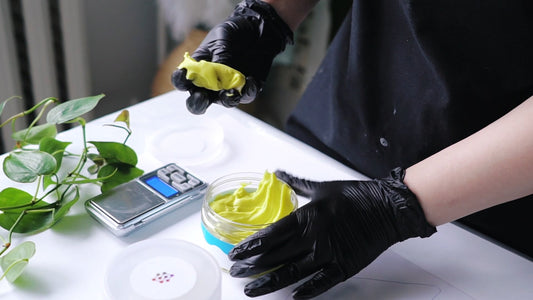
5. Reinforcing with Silicone Paste
On flexible or intricate areas (such as ears), apply silicone paste (shown in blue and beige in the video) to create internal support points that prevent deformation after demoulding.
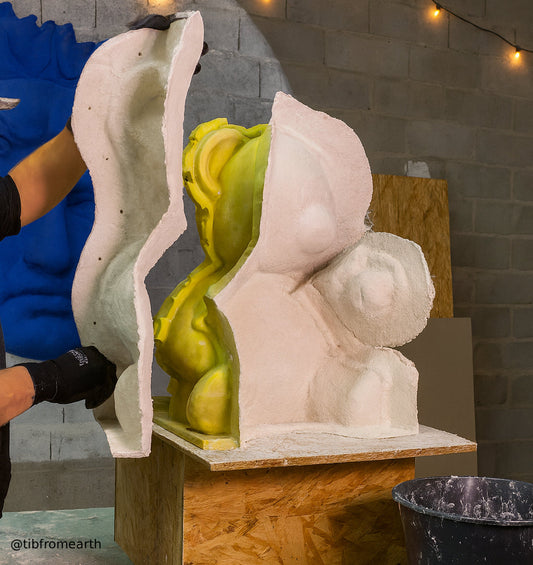
6. Creating the Rigid Polyester Resin Shell
Once the silicone has cured, apply layers of fibreglass mat soaked in polyester resin to both halves (left and right). After curing, join the two halves with bolts to ensure stable alignment.


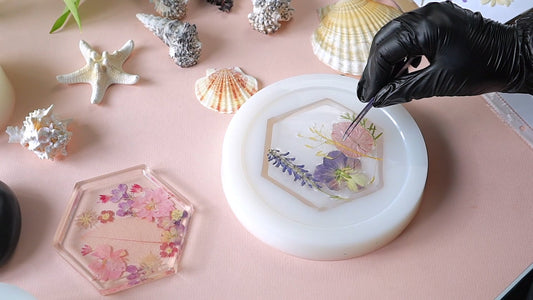
7. Demoulding and Use
Carefully remove the mould. After use, reinsert the silicone paste supports in their position and reattach the rigid shell. You now have a precise, reusable mould suitable for casting resin, plaster, soap, or other materials.

Tags:
Previous
Project Examples and Case Studies
Next
3 Tips to Get the Most Out of Translucent Pure Mold Silicone
Related articles
-
Jul 15 2025
3 errori comuni quando si usano siliconi per stampi
-
Jul 11 2025