It’s happened to everyone: you see a beautiful object and think, “I’ll make a mould using silicone putty!”
It seems easy, fast, and clean. But… if you choose the wrong object or surface, disaster is guaranteed.
Today I’m speaking from experience (and yes, also from my mistakes), so you don’t stumble where others already have.
Let’s look together at what to consider when making moulds with silicone and which types of DIY mould-making silicones to use.
1. Moulds for large or bulky objects
Here’s the most common mistake: trying to cover a big piece with silicone putty.
The result?
Often the surface isn’t evenly covered, or the silicone cracks after curing.
Why?
Because silicone putty isn’t fluid enough to adapt to wide surfaces and can’t create a uniform thickness.
Also, for large handmade figures, putty is not the best choice.
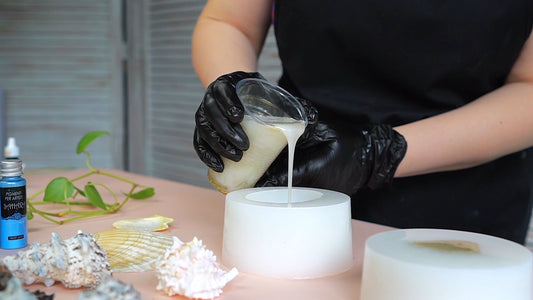
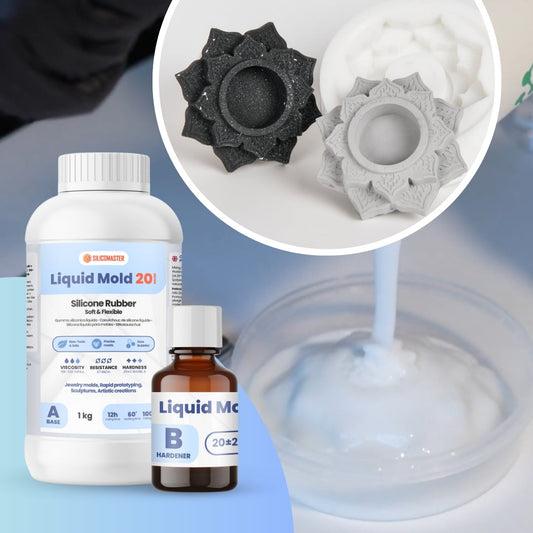
👉 Tip: for large objects, choose liquid silicone, which pours and spreads easily, allowing you to create strong and detailed moulds.
2. Using it on porous or soft surfaces
Another frequent mistake: applying silicone putty to materials like cardboard, fabric, or raw wood.
The silicone sticks too much, and you risk getting a poorly defined or damaged mould when removing it.
If you want clean-finish moulds, you need to be mindful of the surface you’re working on.
👉 Tip: if the surface is porous, seal it first or use another type of silicone better suited for resin moulds.
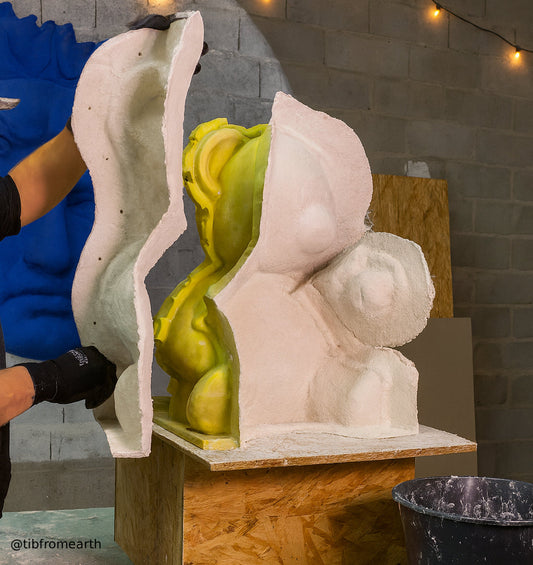
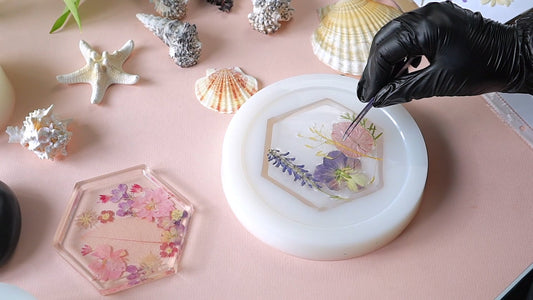
3. Moulding objects with too many details or inner cavities
Have you ever been tempted by a shape full of textures or recesses?
The truth is, silicone putty struggles to reach those hidden spots.
The material stays on the surface and doesn’t penetrate the details, so the mould ends up incomplete or imprecise.
👉 Tip: for this kind of project, it’s better to use liquid silicone — it’s more precise for complex shapes and deep textures.

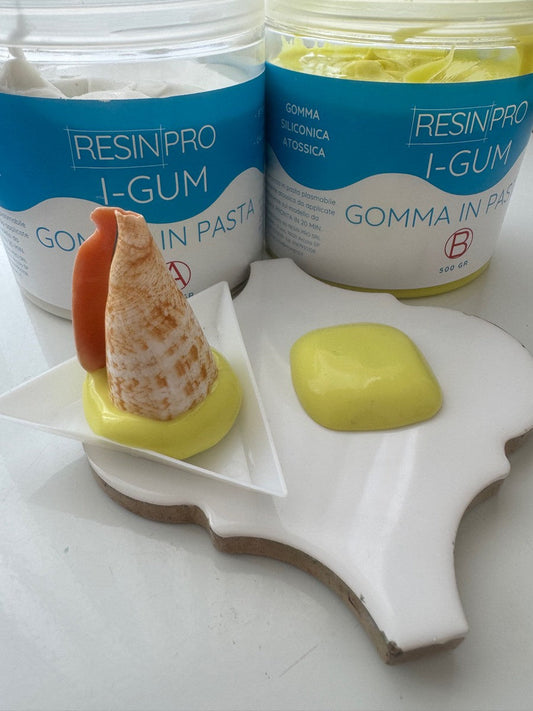
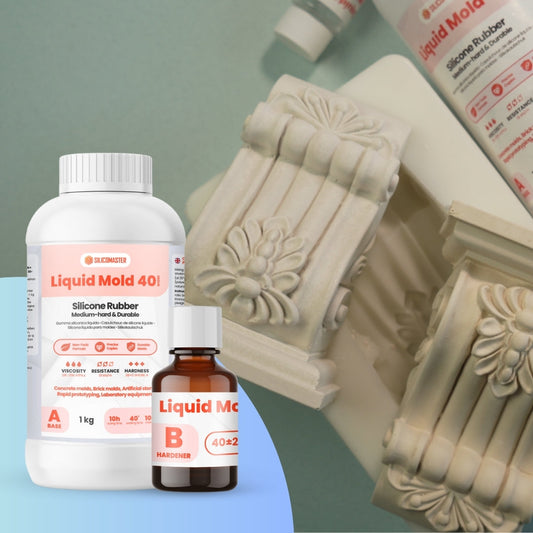
“I–GUM” – Non-Toxic Silicone Putty for mould making

“I–GUM FAST” – Non-Toxic Fast Silicone Putty for mould making
When should you use silicone putty for DIY moulds?
If you’re new to handmade mould-making, here are some cases where silicone putty is perfect:
-
Moulds for flat textures, such as bases or decorative plaques
-
Quick and simple creations, without intricate details
-
Vertical applications (to coat raised surfaces or add layered texture)
👉 In these cases, silicone putty is your best ally: it’s easy to apply by hand and cures quickly.
The importance of choosing the right silicone for your moulds
Choosing the right type of silicone is crucial to achieving a good result on the first try.
As you’ve seen, not all silicones suit every application, and using the wrong one can lead to wasted time, materials, and money.
👉 Before you start, carefully consider the kind of mould you want to make and the properties of the original object.
Only then can you decide between liquid silicone or silicone putty for your DIY mould.
Have you ever made one of these mistakes?
Share your experience in the comments — it could help others just starting out with silicone putty.
And if you’re about to begin… save this post — it might spare you a headache!
Tags:
Previous
How to Make a Quick and Detailed Mould with Silicone Paste: Step-by-Step Guide
Next
How to Use Silicone for Moulds – Tips and Practical Guide
Related articles
-
Jul 15 2025
3 errori comuni quando si usano siliconi per stampi
-
Jul 11 2025