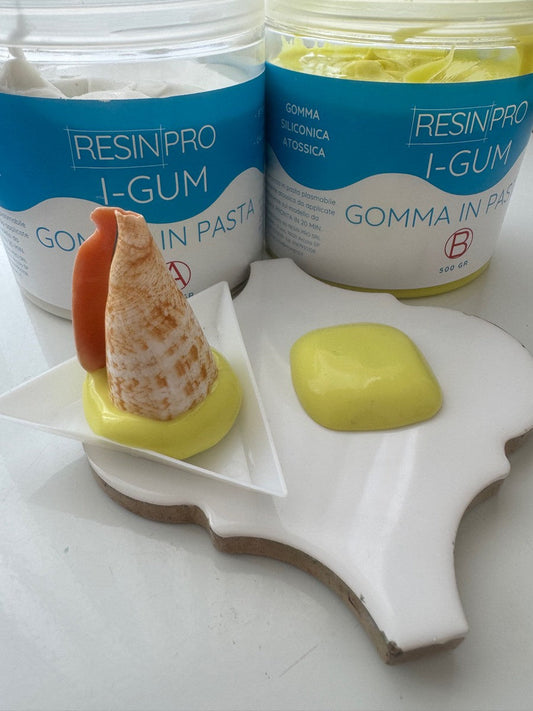
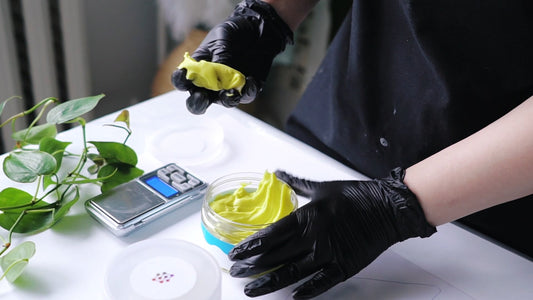
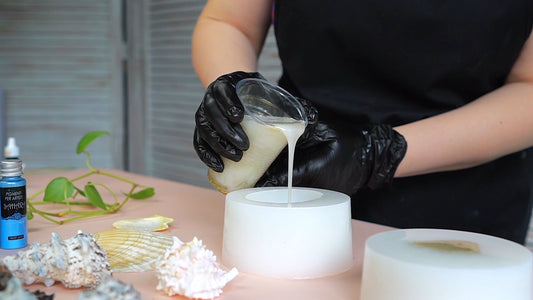
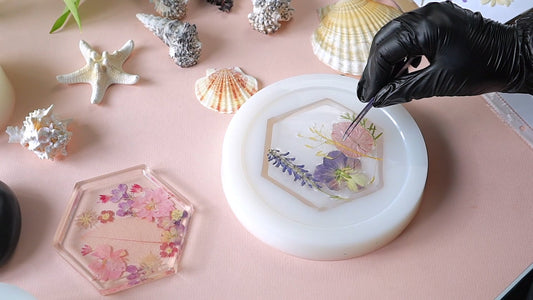
Want to create a quick and highly detailed mould for your creations?
Silicone paste for moulds is the ideal choice for small objects with defined textures.
In this post, I’ll show you how to make a homemade mould, with all the tips and tricks to get a flawless result.


Tags:
Previous
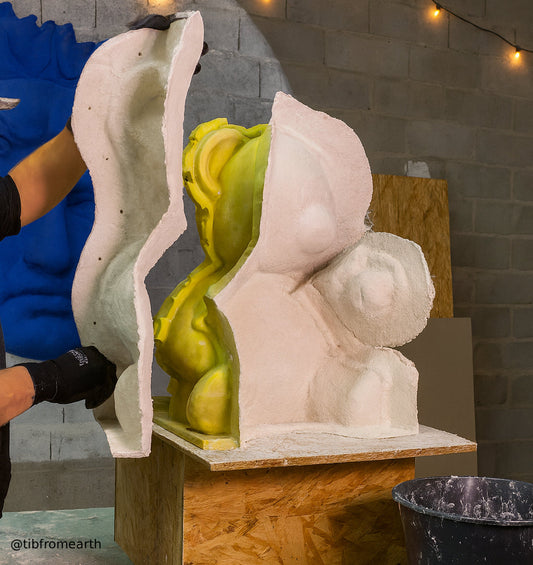
How We Created a Perfect 3D Mould with Pure Mold Liquid Silicone
Next
Common Mistakes When Using Silicone Putty (and How to Avoid Them)
Related articles
-
Jul 15 2025
3 errori comuni quando si usano siliconi per stampi
-
Jul 11 2025