There are moments when the difference between a good result and an excellent one lies in what you can’t see.
But… what if you could see everything?
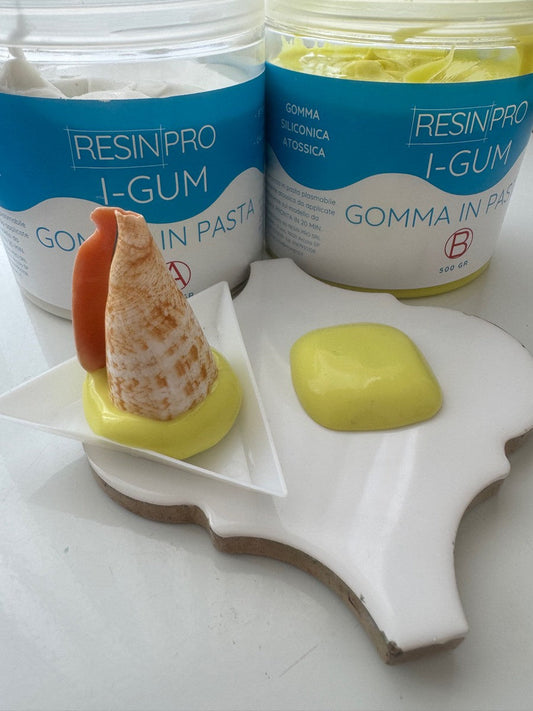
It All Started with a Finished Mould in Hand
Solid, precise — but the most interesting part happened before, when it was just an idea taking shape inside a container.
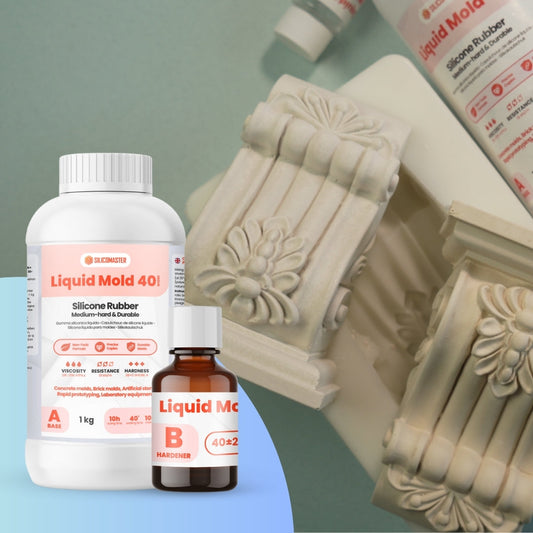
That day, we chose to work with Pure Mold, our transparent liquid silicone specially designed for creating complex moulds with ease and precision.
Why? Simple: we wanted to take advantage of its transparency to see every detail from the inside — something impossible with traditional opaque silicones.
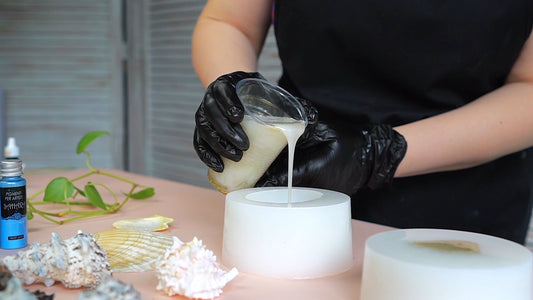
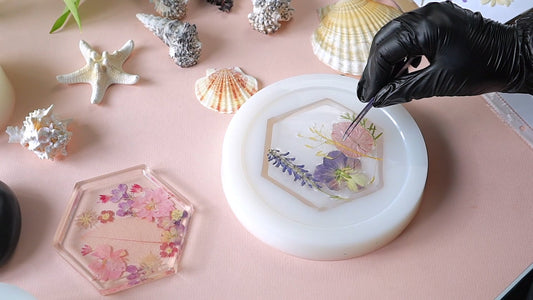
How to Make a Transparent 3D Mould: Step by Step
We poured the liquid silicone over the model, and from the very first moment, we could observe how it covered it — every corner, every detail.
If something wasn’t filling properly, we knew it immediately. No surprises later.
This is crucial when you're wondering how to make a transparent 3D mould:
The choice of silicone makes all the difference.
Summary of the Process:
-
Clean and dry model
-
Airtight container
-
Slow pour of Pure Mold to avoid bubbles
-
Continuous visual control during pouring
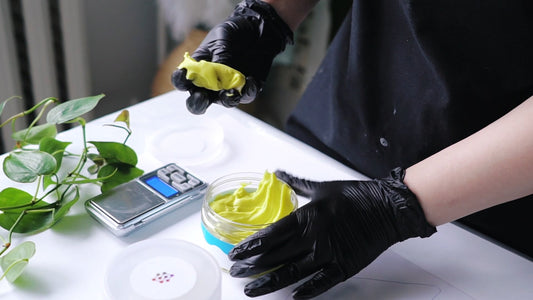
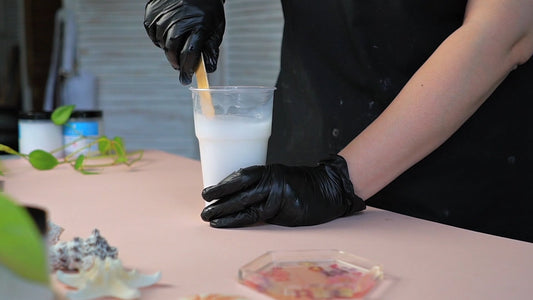
How to Use Silicone for Manual Rotocasting
The key step was manual rotocasting — a handcrafted method that involves rotating the container in various directions to ensure the silicone spreads evenly across all internal surfaces.
And the best part?
By using ultra-transparent silicone, we could follow every movement from the outside, as if we were inside the mould.
Knowing how to use silicone for rotocasting is essential for precision.
The real-time visibility allowed us to adjust movements and ensure complete coverage.

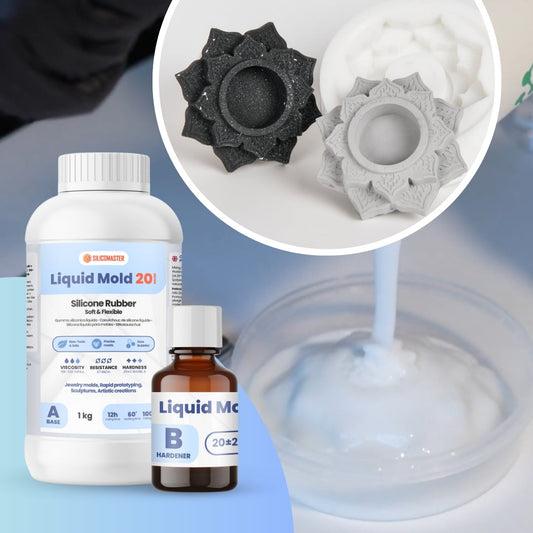
Pure Mold 10 - Silicone for Crafting and Fine Details

Pure Mold 20 - Universal Silicone for Sculptures and Artistic Objects

Pure Mold 30 - Ideal Silicone for Molds in Cement, Plaster, Mortar, and Decorative Stones
Advantages of Using Transparent Silicone in Molding
Full visual control during pouring
Immediate detection of defects or air bubbles
Better distribution in complex molds
Cleaner results, with no thin or empty spots
One of the greatest advantages of transparent silicone is that it reduces the margin of error.
Especially for high-precision projects or reusable molds for epoxy resin, being able to see inside makes all the difference.
Steps for Creating a Mold with Pure Mold
This molding technique requires a bit of patience, but it’s worth it. The silicone perfectly adapts to the model without leaving gaps or bubbles.
The key? Work calmly, rotate the mold in all directions, and use the transparency to avoid mistakes.
Time-lapse: Rotocasting Technique with Liquid Silicone
In our workshops, we show a time-lapse video where you can clearly see how the rotocasting technique with liquid silicone helps form even walls.
If you’re learning or want to improve your skills, watching real examples is extremely helpful.
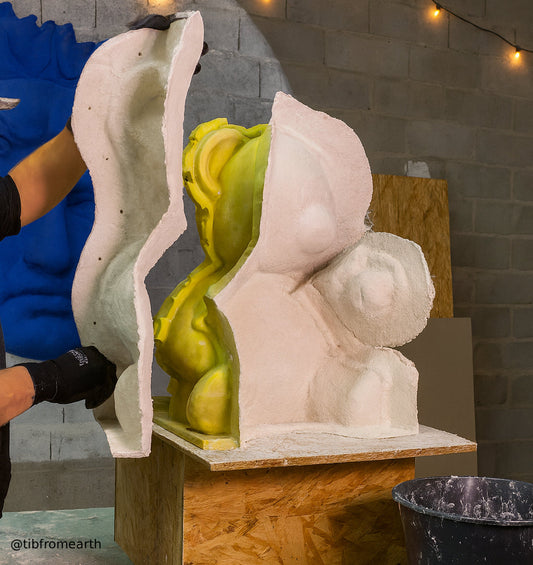
How to See Inside the Mold While Working
One of the problems with opaque silicones is that you don’t know what’s going on inside until it’s too late.
With Pure Mold, however, you can see the inside while you work — and that completely changes how you manage the process.
Guide for Making Bubble-Free Molds
Want to make sure your mold is perfect on the first try?
Here are a few quick tips:
Avoid sudden movements while mixing
Use a vacuum chamber for degassing, if possible
Pour slowly, in thin layers
Use transparency to spot and fix defects immediately
Conclusion: A Perfect Mold, No Guesswork Needed
That’s what makes Pure Mold special: with this transparent liquid silicone, you can see what you’re doing.
And in such a delicate process... that makes all the difference.
Tags:
Previous
The Importance of Transparency in Silicone Molds for Better Results
Next
How to Make a Quick and Detailed Mould with Silicone Paste: Step-by-Step Guide
Related articles
-
Jul 15 2025
3 errori comuni quando si usano siliconi per stampi
-
Jul 11 2025